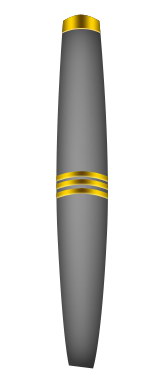
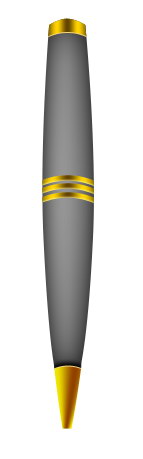
![]() In this tutorial we will use Photoshop to create a fancy looking golden pen and envelope icon. We will be using lots of shape and layer style to achieve a realistic look. Before we start, take a look at the final image below.
In this tutorial we will use Photoshop to create a fancy looking golden pen and envelope icon. We will be using lots of shape and layer style to achieve a realistic look. Before we start, take a look at the final image below.
If you like outcome be sure to keep reading – you will learn a lot of advanced and interesting features to build these two icons.
Final preview

Step 1
Start by creating a new group, named pen. We’ll put everything there to keep layers organized.
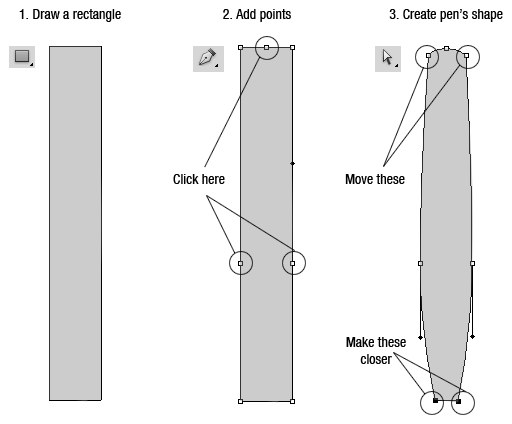
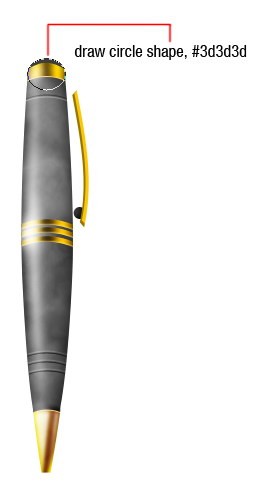
Activate rectangle tool and draw a rectangle. Click top, right, and left middle to add points. Move some points to create pen’s base. Use image below for reference.
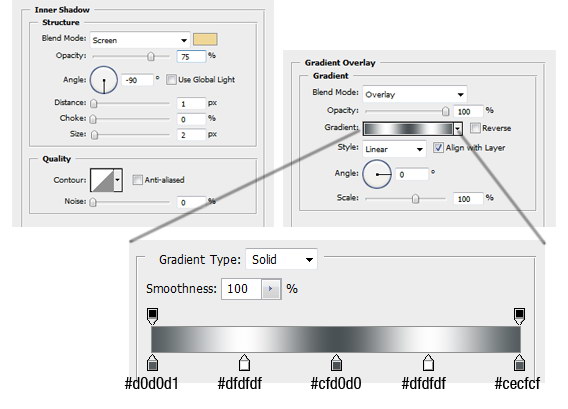
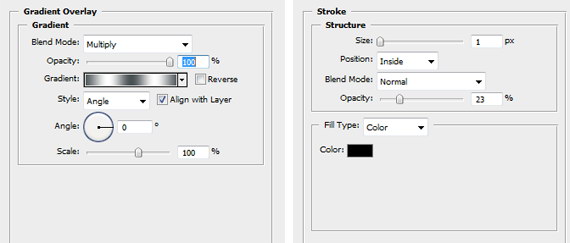
Step 2
Add these layer styles.

Step 4
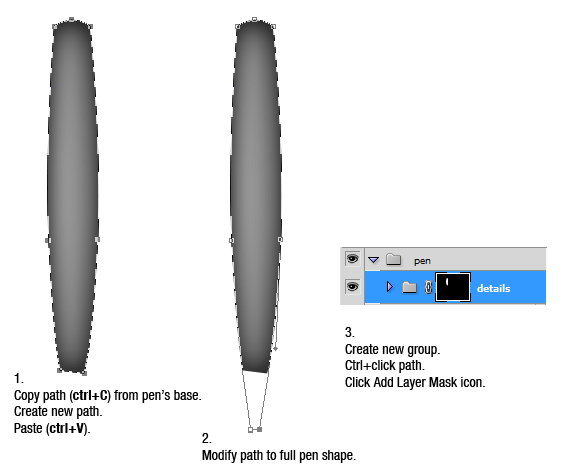
Select path we just created, copy it by pressing - CTRL+C.
In Path panels, create new path and paste (ctrl+V). Modify the path to make it longer. See picture below (#2). Change path to selection by ctrl+click the path. In Layers panel create new group and click Add Layer Mask icon. Every details on the pen will be placed inside this group.
Step 5
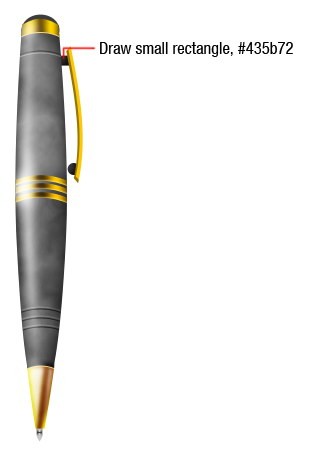
Draw a small rectangle on top of the pen. Use color #906a00. Press ctrl+T for transformation, right click and choose warp. In the option bar select Warp: Arch with blend setting 30%.

Step 6
Add these layer styles.

Step 7
Using similar steps above, create another shape on the pen. Use layer styles shown below.
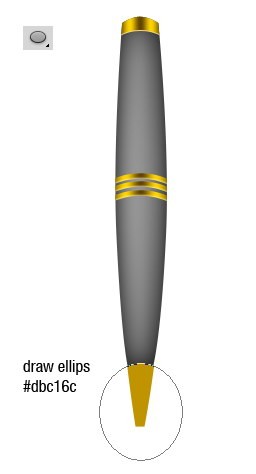
Step 8
Using an ellipse tool create an ellipse. Add these layer styles.
Step 9
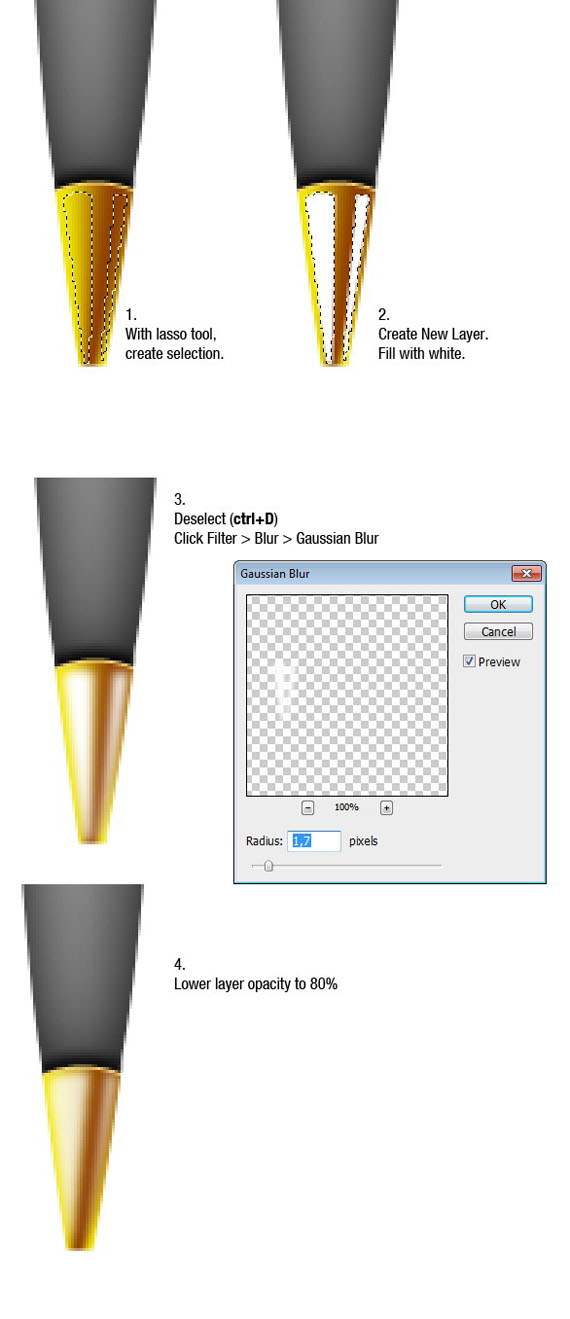
Zoom closer to see more detail. Create new layer. Create selection with polygonal lasso for highlight. Fill the selection with white (Edit > Fill). Remove selection ( ctrl+D ) then add Gaussian Blur (Filter > Blur > Gaussian Blur). Make the highlight more subtle by lowering its opacity to 80%.
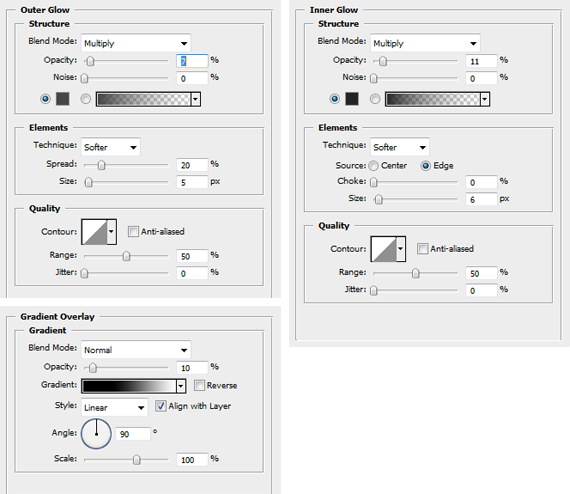
Step 10
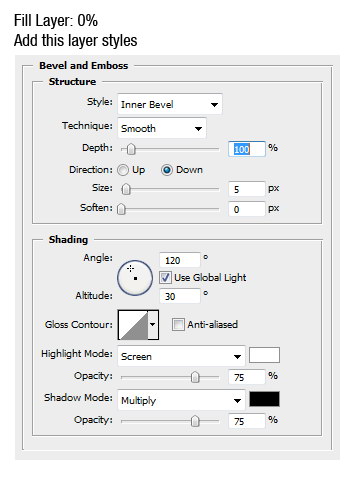
Create shape shown below. Change its fill layer to 0% and add these layer styles.

Step 11
Duplicate shape a few times and place it below.
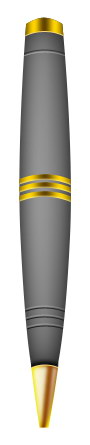
Step 12
Create new layer. Using soft brush, draw white line along the pen’s body. Add Gaussian Blur to soften it. Change its opacity to 65%. Erase both ends using soft eraser. Duplicate highlight layer to make it stronger.
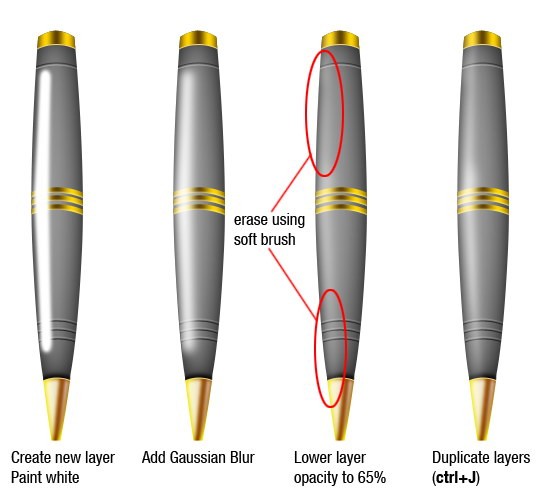
Step 13
The gold metal is more reflexive and need to cast more lights. Create new layer. paint it with white, add Gaussian blur and change its opacity to 50%.
Step 14
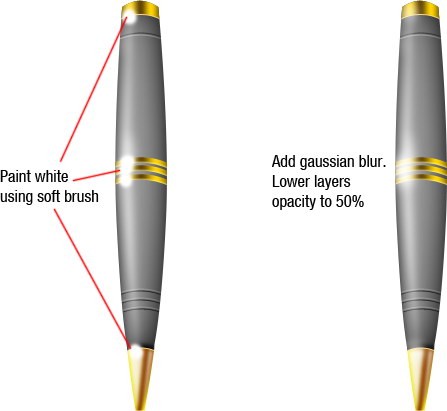
Now, we’ll add marble texture to the pen. Add another layer above all layers. Press D button to change foreground and background color to black and white. Click Filter > Render > Clouds then Filter > Render > Difference Clouds. Do this a few times until you have satisfying result. Change blend mode to Overlay and opacity to 40%.
Step 15
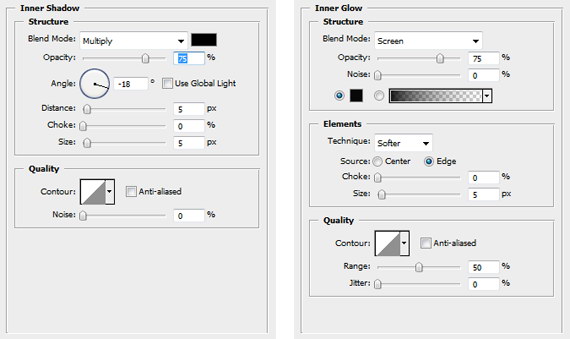
Use pen tool and draw pen’s handle. Add Inner shadow.
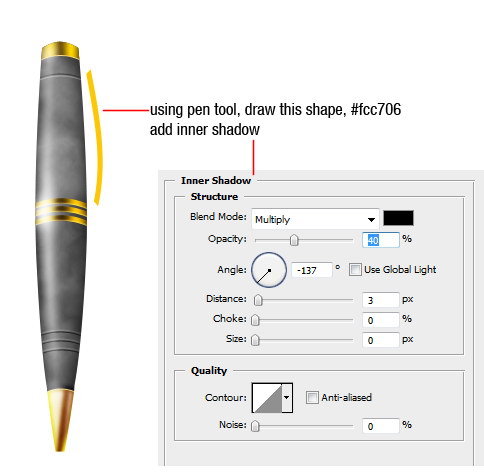
Step 16
Draw small circle under the pens handle. Add these layer styles.
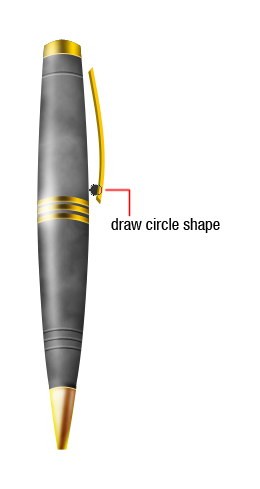
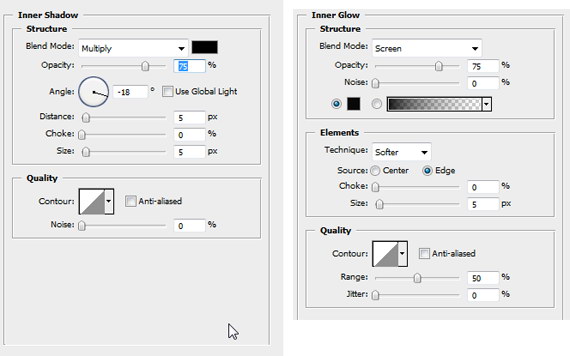

Step 17
Draw small circle and put it under all the other layers.
.
Step 18
Draw small rectangle to connect pen and its handle.
Step 19
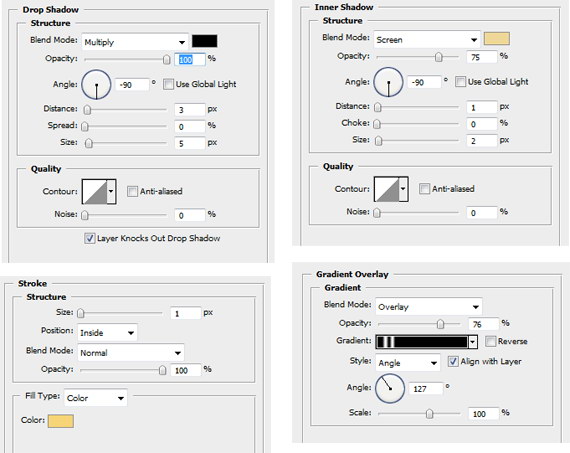
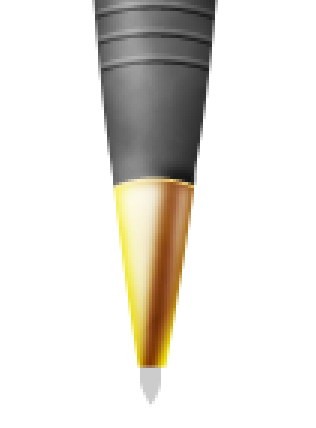
Draw pen’s tip underneath the pen’s body. Add some layer styles.
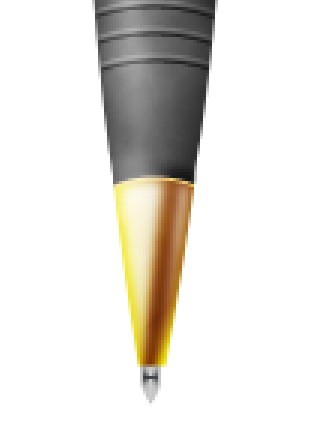
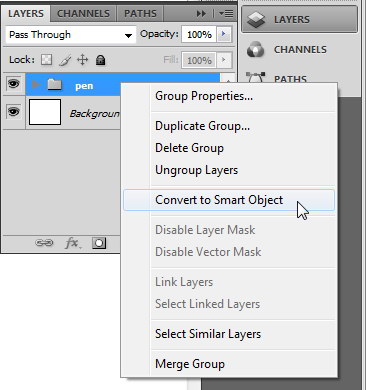
Step 20
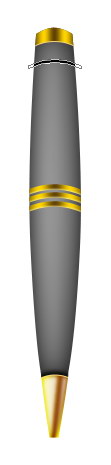
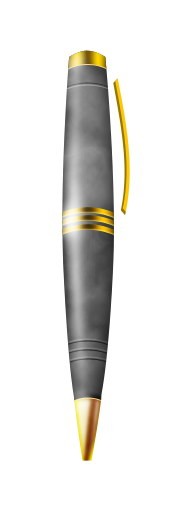
We’re done with the pen. Right click pen’s group and choose Convert to Smart Object.
Next, we’ll focus on the envelope so click the eye icon to hide the pen.
Step 21
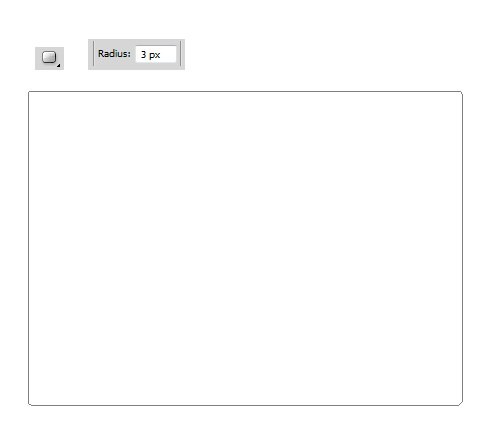
Create new group named envelope. We’ll put every shapes here.
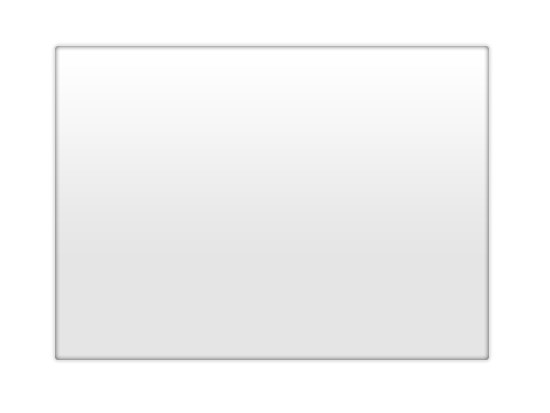
Activate rounded rectangle tool. Choose radius 3px in the option bar. Draw a rectangle on the stage. Add these layer styles.
Step 22
Draw another shape like shown below. Add these layer styles.

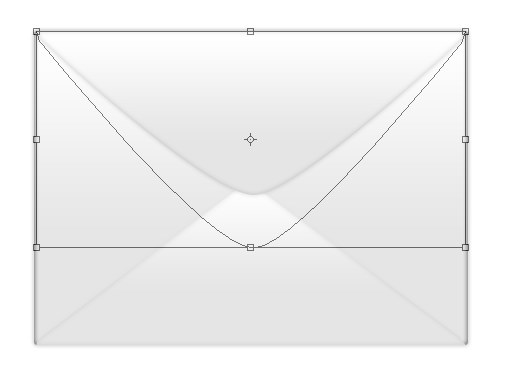
Step 23
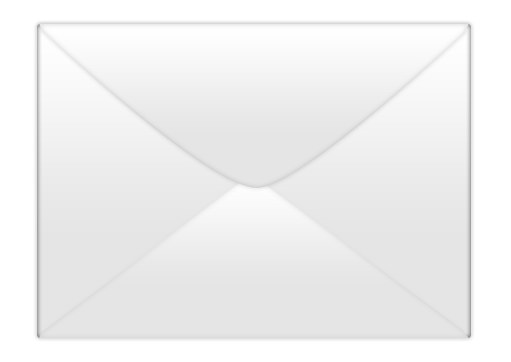
Draw similar shape, this time on top. Use layer styles shown below.
Step 24
Copy the path, and transform it until it looks like this.
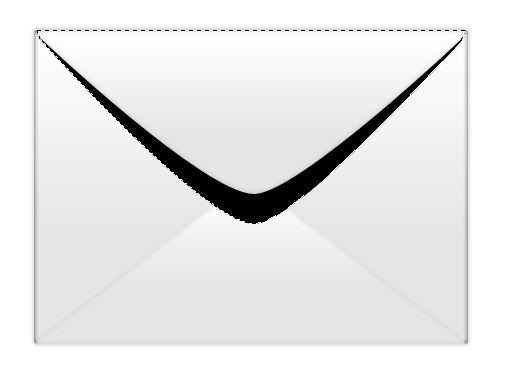
Step 25
Ctrl+click on path to change it to selection. Create new layer, fill it with black.
Step 26
Remove selection ( ctrl+D ). Add Gaussian Blur.
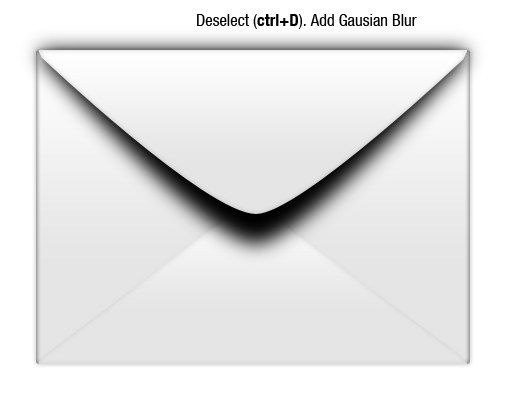
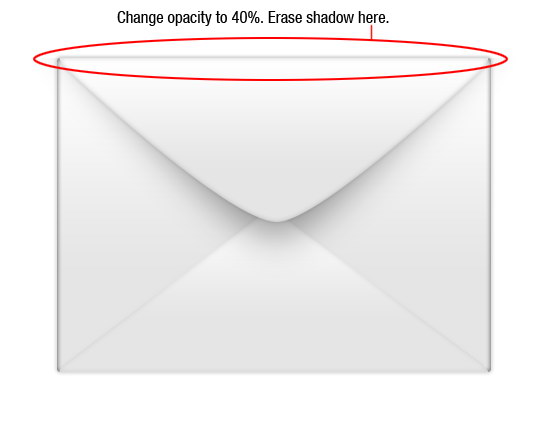
Step 27
Change its opacity to 40% and erase shadow outside the envelope using soft brushed eraser.
Step 28
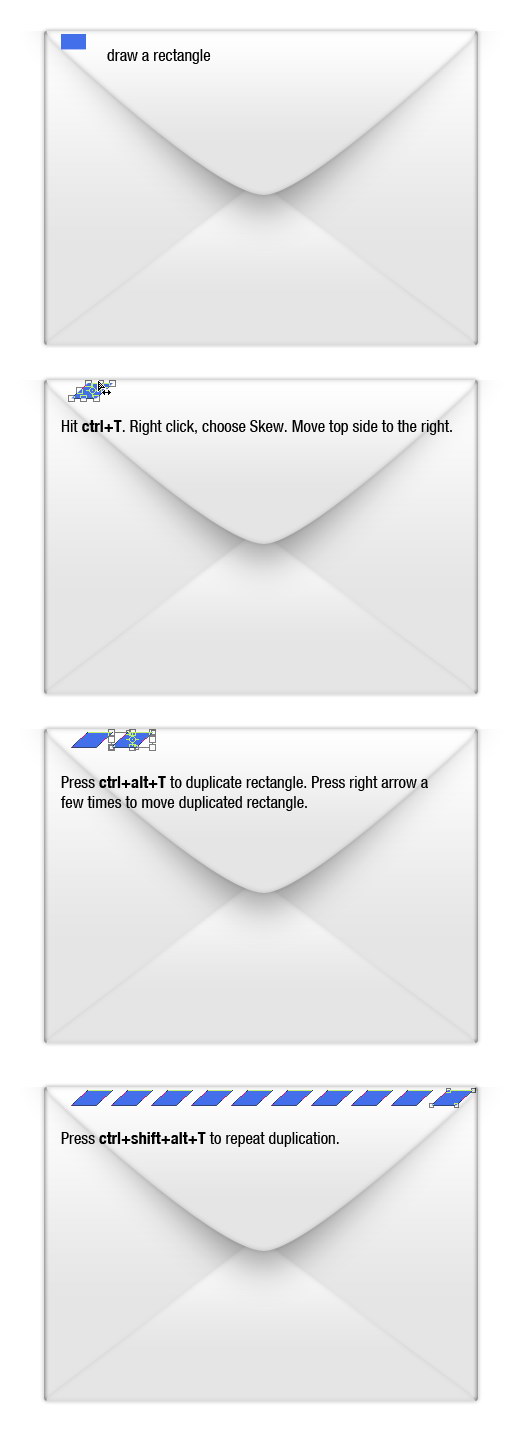
Draw a rectangle shape. Press ctrl+T, right click and choose Warp, then move its top side. Duplicate rectangle by pressing ctrl+alt+T
and right arrow a few times. Press ctrl+shift+alt+T few time to repeat the duplication.
Step 29
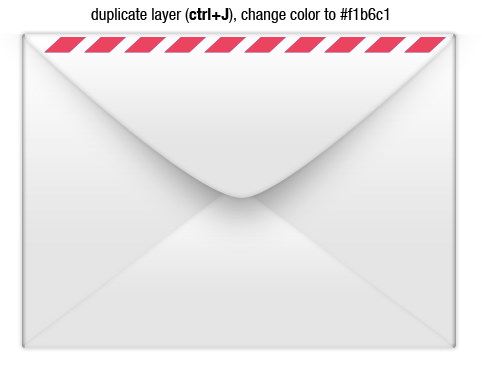
Duplicate layer ( ctrl+J ) and change its color to #f1b6c1.
Step 30
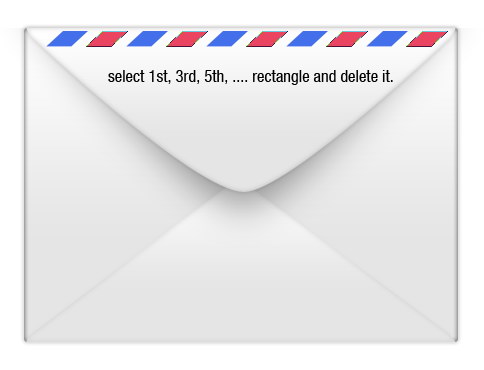
Select rectangle number 1, 3, 5, 7, … and delete it. This way, we’ll alternating red and blue shape.
Step 31
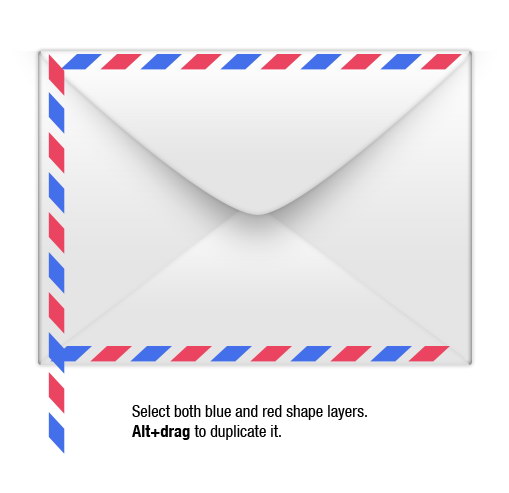
Select both red and blue shape layers, alt+drag to duplicate it. Put it in every side of the envelope.
Step 32
Remove unneeded shape by adding layer mask and paint it with black.

Step 33
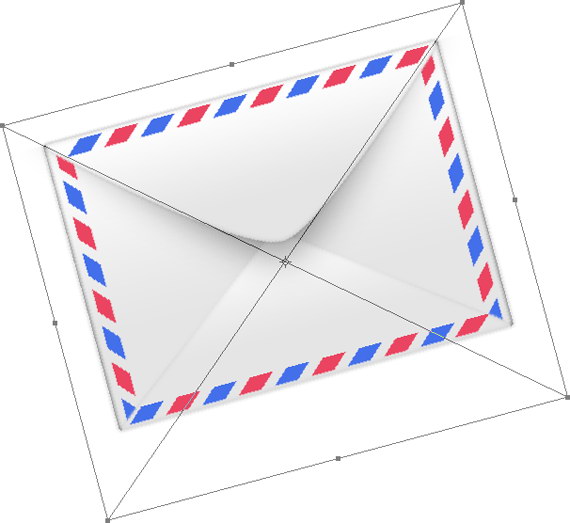
Okay, we’re done. Right click envelope group and choose Convert to Smart Object. Press ctrl+T and rotate the envelope.
Step 34
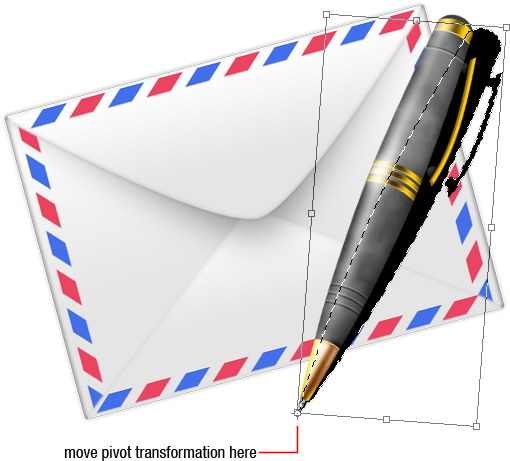
Unhide the pen by clicking its eye icon. Ctrl+click pen to create selection base on its shape. Create new layer and fill it with black. Press ctrl+T, move pivot point to bottom left corner and start dragging to rotate it.
Step 35
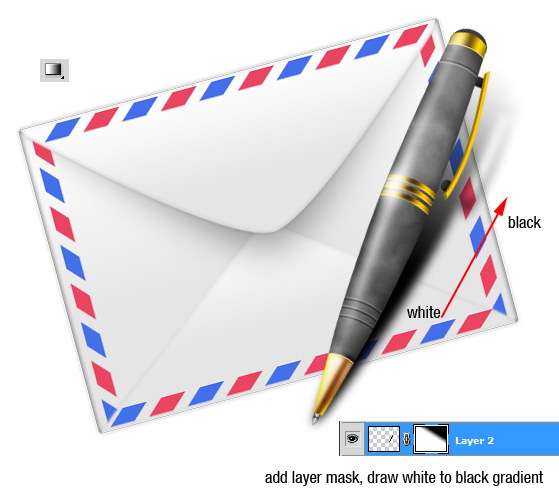
Click Filter > Blur > Gaussian Blur. Add layer mask and give it a white to black gradient. As you can see below, we have just creating its shadow.
Step 36
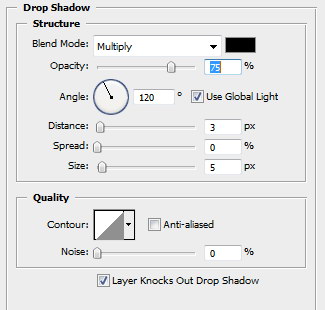
Oops, I forgot the envelope’s shadow. This one is easy, just add drop shadow layer style to the envelope layer.
Final Result
We’re done. I hope you like the result and enjoy doing this tutorial.
